Robot Admin (Standalone Version)
Robot Admin (standalone version) is a pure frontend website (HTML + JavaScript) served directly from the robot.
It interacts with the robot's REST APIs. By observing its operation, you can quickly learn how to utilize these APIs.
This is an optional package. Once installed, it can be accessed at http://ROBOT_IP:8090/rb-admin/.
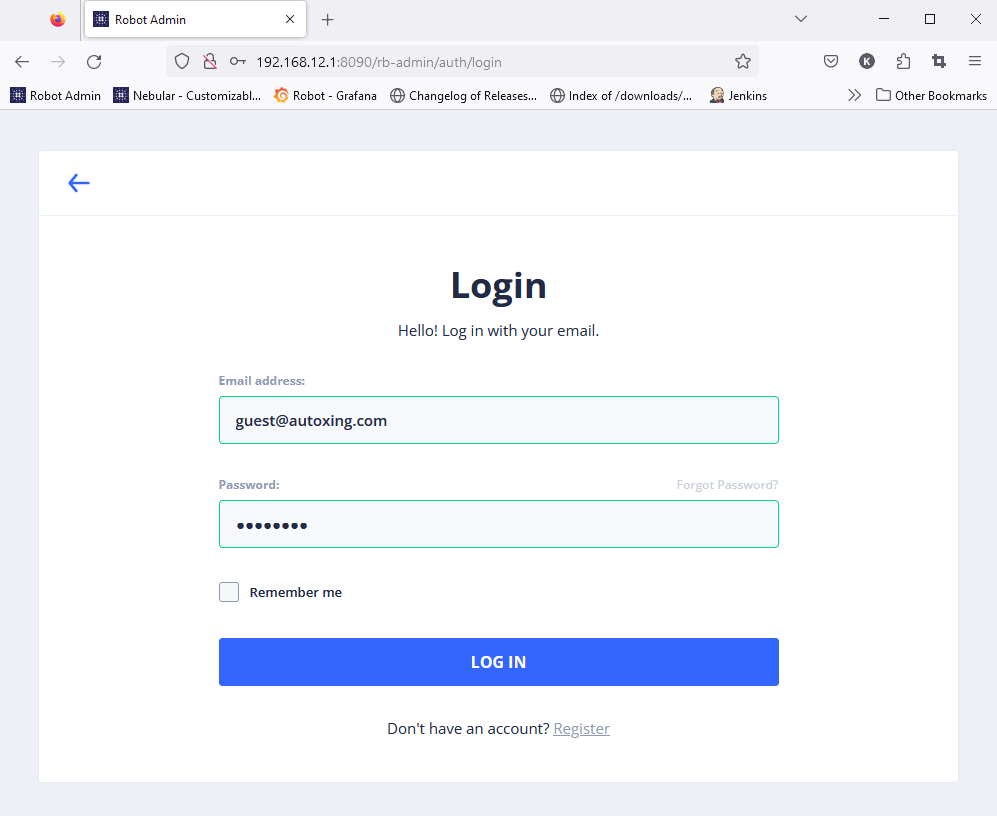
Log in with your username and password (the defaults are usually guest@autoxing.com and autoxing). Once logged in, you can perform various tasks, including:
- Creating new maps
- Browsing existing maps and selecting one as the current map
- Setting the robot's current location
- Creating move actions to navigate the robot
- Visualizing sensor data (Lidar point clouds, depth camera point clouds, RGB camera feeds, etc.)
- Calibrating sensors
- Viewing alerts and action logs
- Saving bag files (for error reporting)
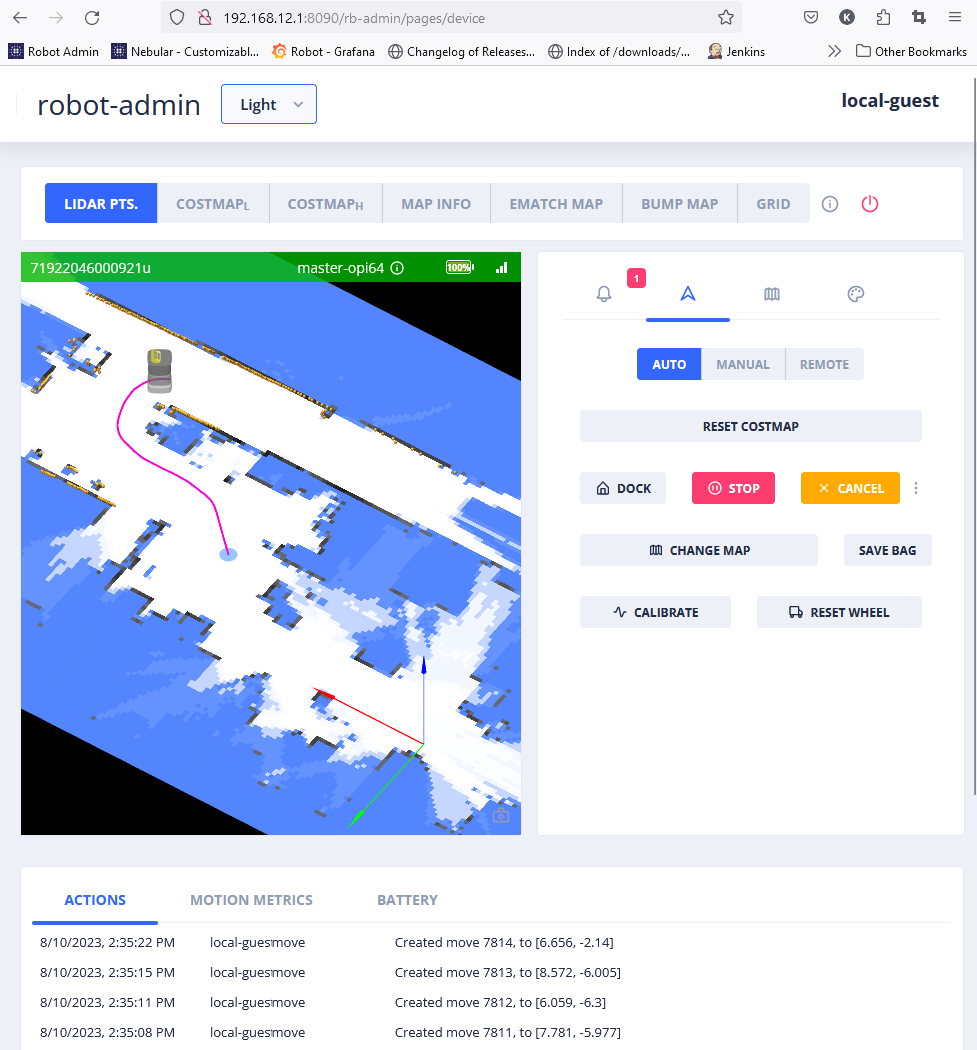
UI Overview
Visualization Topic Bar

- LIDAR PTS - Lidar points.
- COSTMAP(l) - Low-resolution costmap.
- COSTMAP(h) - High-resolution costmap.
- MAP INFO - Virtual walls, chargers, elevator areas, etc.
- EMATCH MAP - Environment matching map, showing the degree of change since the initial mapping.
- BUMP MAP - Visualizes the bumpiness perceived by the robot during movement.
- GRID - 1m x 1m grid lines.
Control Tabs

From left to right:
- Alerts - Displays robot alerts.
- Control - When this tab is active in "AUTO" mode, you can double-click on the map to move the robot.
- Mapping - Used for creating new maps.
- More Visualization Options - Provides access to additional sensor data.
Action Panel

Common Tasks
Creating a New Map Remotely
- Enable
LIDAR PTs. - Switch to the third tab and click "START NEW MAPPING". The robot will enter mapping mode.
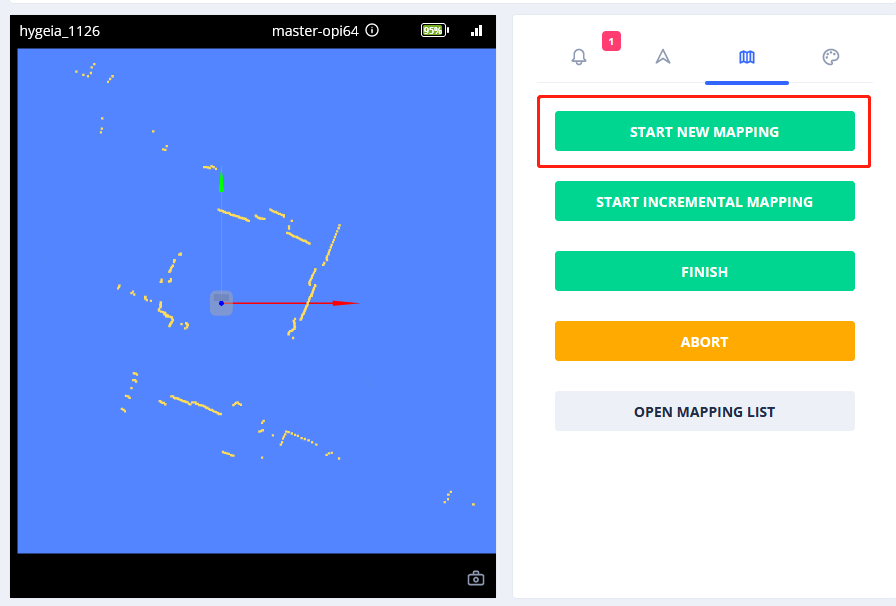
- Switch to the second tab and select "Auto" mode.
- Double-click on the free space around the robot (indicated by white areas).
- Continuously move the robot until the map is complete.
- Switch back to the third tab:
- To use the map temporarily without saving, click "ABORT".
- To save the map permanently, click "FINISH". It will be stored in the "Mapping List".
After clicking either "ABORT" or "FINISH", the robot will switch to positioning mode, allowing you to navigate within the newly created map.
To reuse a newly created map:
- Select "OPEN MAPPING LIST" to view all mapping tasks.
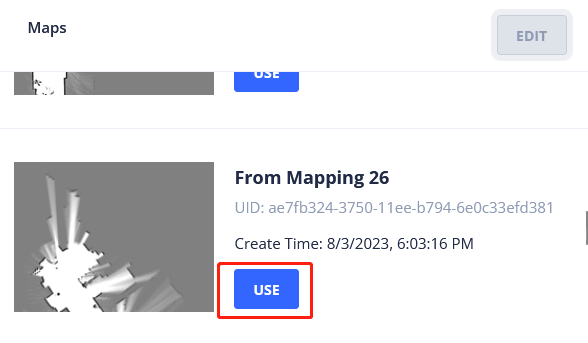
- Click "SAVE" on a mapping task (e.g., "mapping 26") to save it to the "Map List".
- Switch to the second tab, click "CHANGE MAP", and then click "USE" for the desired map (e.g., "Mapping 27").
Setting the Robot's Current Position
Click on the robot to display the "adjustment bar".
Automatic Global Positioning
Use the "automatic global positioning" button to automatically determine the robot's position. This may take some time on larger maps.
- If successful, the robot's position will be updated automatically.
- If the system is uncertain, you must manually "CONFIRM" the result after verifying that the Lidar points align perfectly with the map.
- If the system cannot determine the position, the process will fail.

Manual Positioning
Click "TRANSLATE" or "ROTATE", then drag the cursor to manually move or rotate the robot.